This post details the creation of Python virtual environment with the use of ‘venv’, the python build-in package, of installing specific Python version and necessary packages.
Link to venv.
Creating and Managing Virtual Environment for Python project
1. Open Terminal and create directory
1 |
|
2. cd to the directory and create virtual environment with specific Python version (here for instance using python 3.8 version)
1 | D:\Pyproject>cd testing_env_project |
Then you will see a new folder ‘my_env_name’ created under ‘testing_env_project’.
1 | # ls to check all the folders and files created under this. |
3. activate the virtual environment you’ve just created by following command
1 | D:\Pyproject\testing_env_project> my_env_name\Scripts\activate |
4. Then using folloing command to install specific packages you want in this virtual environment
1 | (my_env_name) D:\Pyproject\testing_env_project> pip install package_name |
5. Open the project via VS Code Editor using following command:
1 | (my_env_name) D:\Pyproject\testing_env_project> code . |
6. List and save all packages installed in this virtual environment for this project to a txt file so others can replicate the same project if sharing
1 | (my_env_name) D:\Pyproject\testing_env_project> pip freeze > requirements.txt |
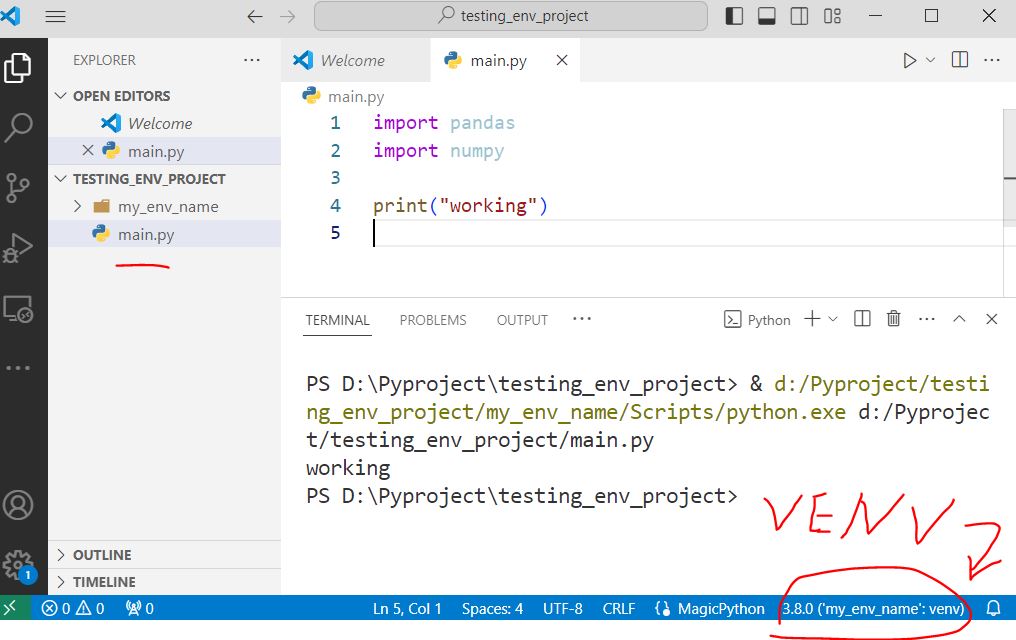
Finally, you will be able to work in this project via VS Code Editor.